Feature Guide
Overview
This section covers how to use key features like Pagination, Date & Time Updates, and Column Configuration.
Pagination
Pagination allows you to efficiently navigate through data across multiple pages and customize how many items are displayed per page.
How to change the pages or the per page data?
- You can click on the page no and will be directly routed to that page.

- To go to the next page click on > button.

- To go to the previous page click on < button.

- To go to the first page click on << button.

- To go to the last page click on >> button.

- Click the button below to change the items per page. You can select between 20 (min) and 100 (max).

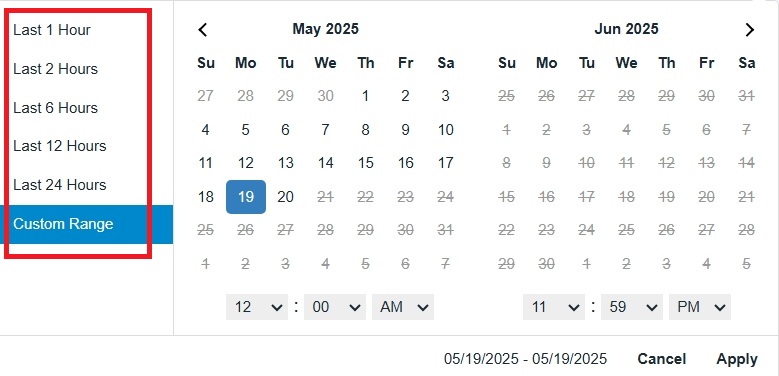
Date And Time Update
How to change the time range from Last 1 Hour or Last 24 Hours?
- Click on Last 1 Hour or on Last 24 Hours to open the time range selector.
 OR
OR
-
A list of preset options like Last 2 Hours, Last 6 Hours, etc., will appear. You can also select Custom Range to choose any specific date, as shown below.
-
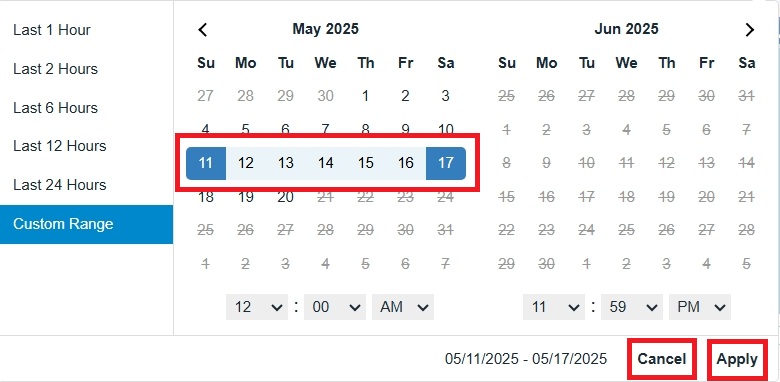
If you choose Custom Range, select the desired range, click Apply to update the data view or Cancel to discard the changes.
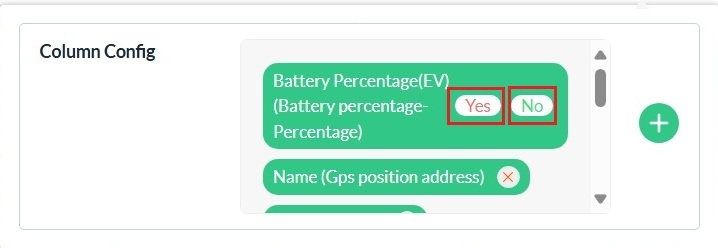
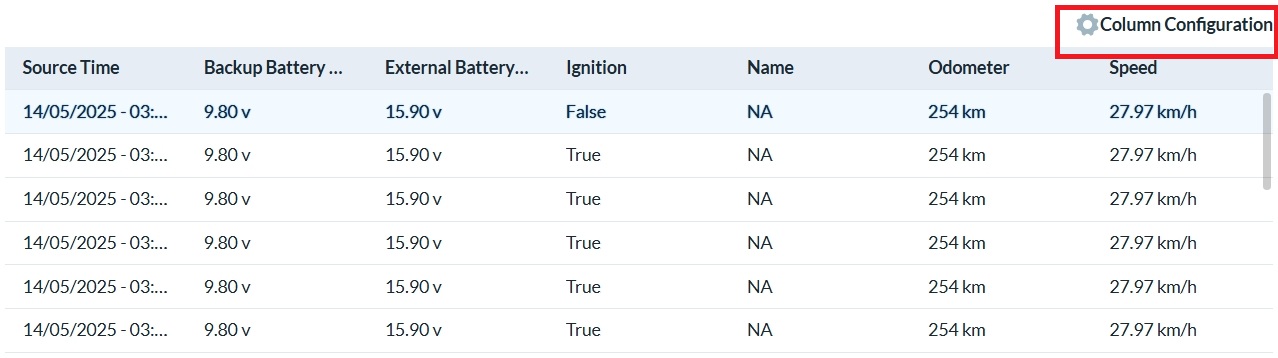
Column Configuration
How to Add or Remove from Column Configuration?
-
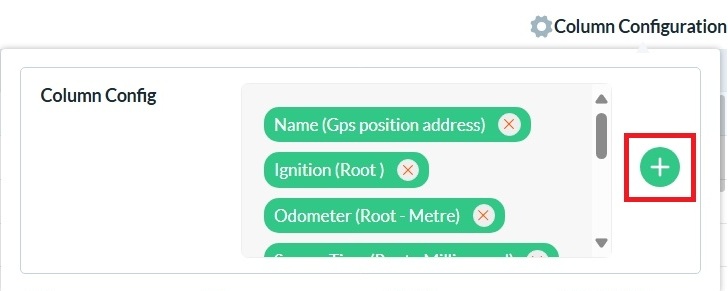
Click on Column Configuration to open a dropdown showing the list of currently displayed columns.
-
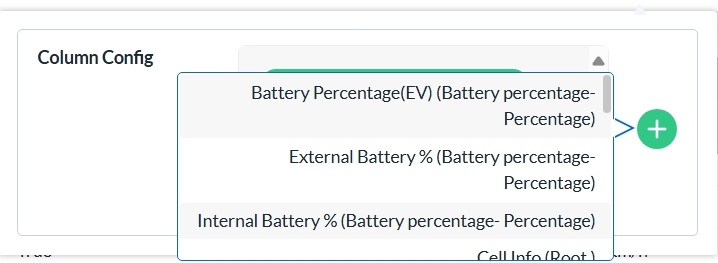
To Add a new column, click the + button and select the desired column from the dropdown list.
-
Choose a column you want to add from the available dropdown.
-
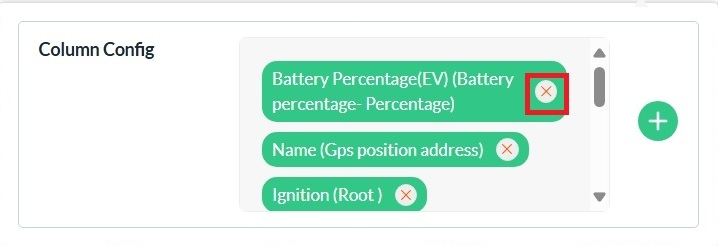
To Remove a column, click the X icon next to the column you wish to remove.
-
Select Yes to confirm removal or No to cancel removal of the column.