Geolocation Plans
After logging into the Super Admin Portal, select Configurations from the left navigation panel and choose Geolocation Plans sub-tab. This page displays a list of all geolocation plans along with their details.
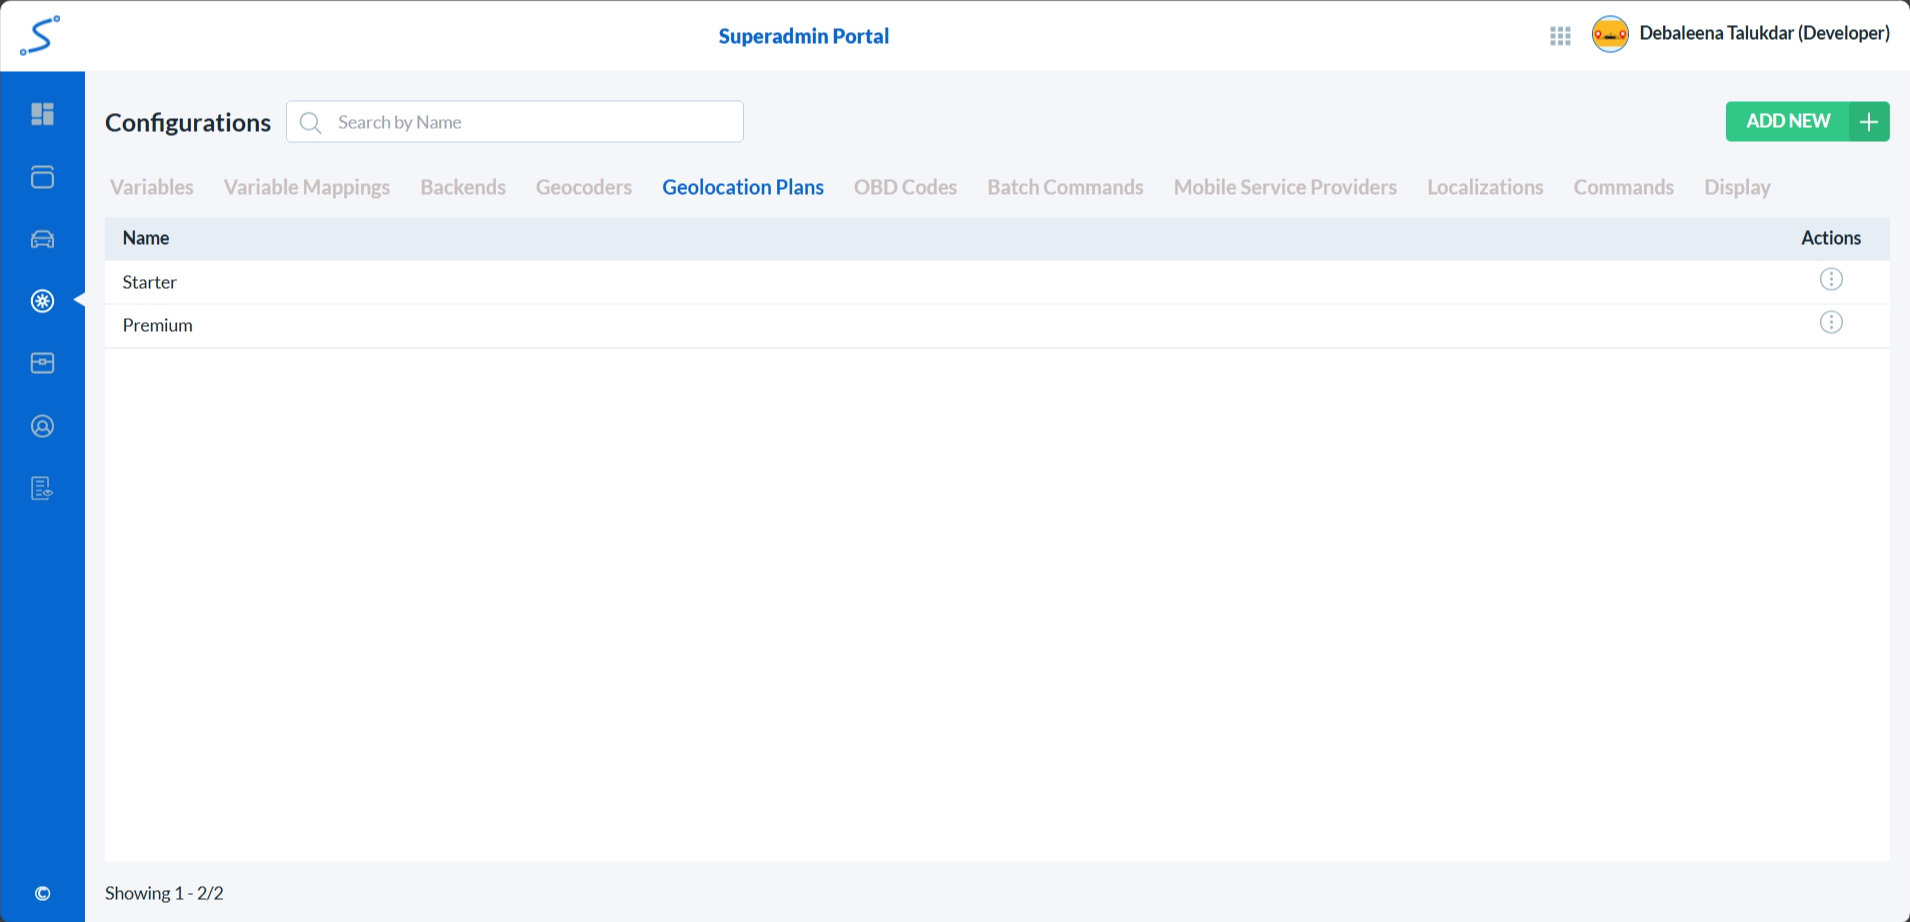
Geolocation Plans List
Geolocation Plans are listed in reverse chronological order — the most recently added geolocation plan appear at the top.
Easily locate a geolocation plan using the search functionality by entering the geolocation plan name.
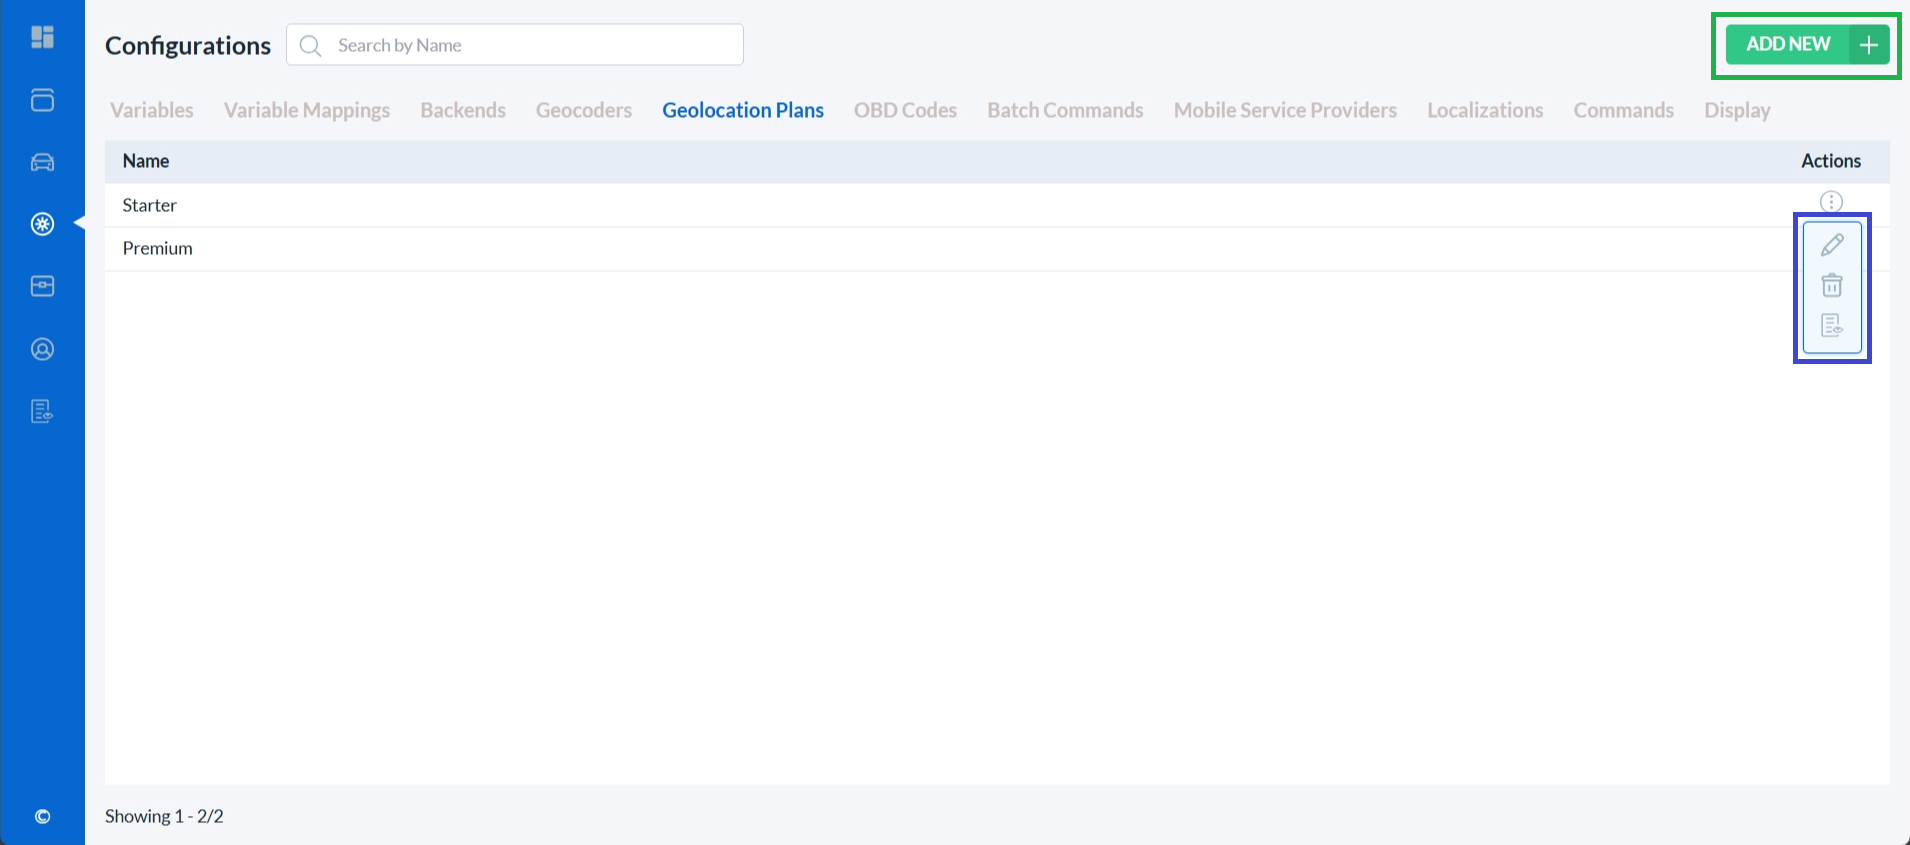
To add a new geolocation plan, click on the Add New button. (highlighted with a green box)
To edit a geolocation plan or view its audit trail or delete it, click on the corresponding icon in the Actions column (highlighted with a blue box).
To edit or view the details of a geolocation plan click on the first icon.
To delete a geolocation plan click on the second icon.
To view the audit details of a geolocation plan click on the second icon.

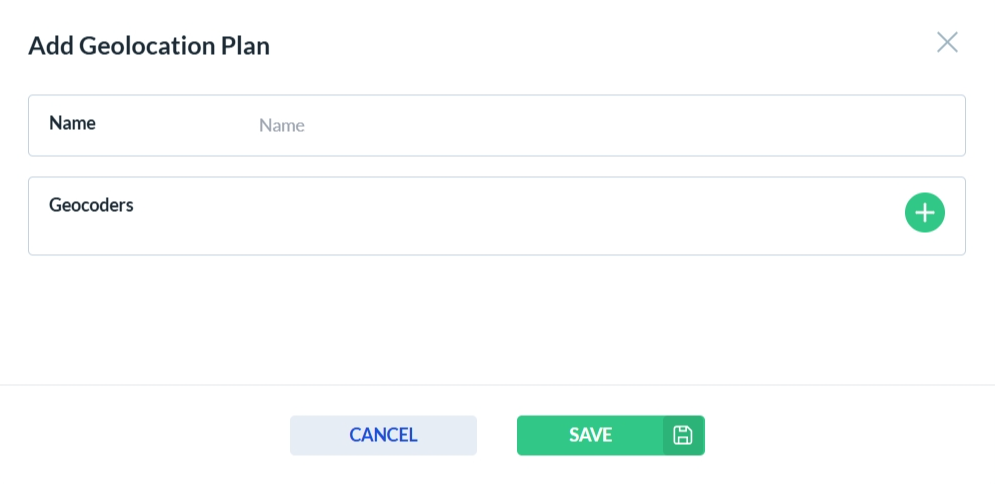
Add New Geolocation Plan
To add a new geolocation plan, click the Add New button. This will open the geolocation plan form. Complete all required fields, then click Save to store the new geolocation plan or Cancel to discard your changes.
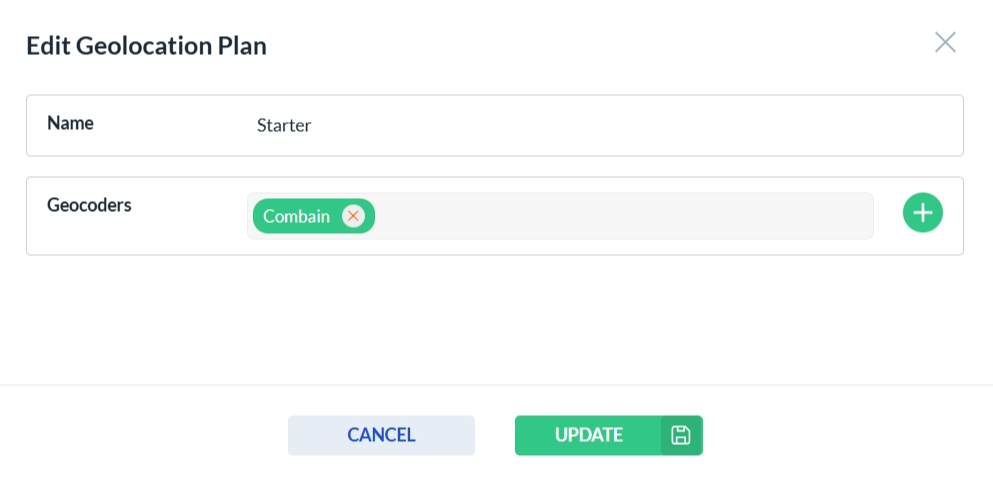
Geolocation Plan Edit
After clicking the edit icon in the Actions column, the geolocation plan form opens. Only the fields that are enabled can be edited—disabled fields are read-only. Click Update to save your changes, or Cancel to discard them.
Geolocation Plan Delete
To delete a geolocation plan, click the Delete icon in the Actions column. A confirmation dialog will appear. Click Yes to permanently delete the selected geolocation plan, or No to cancel the action.

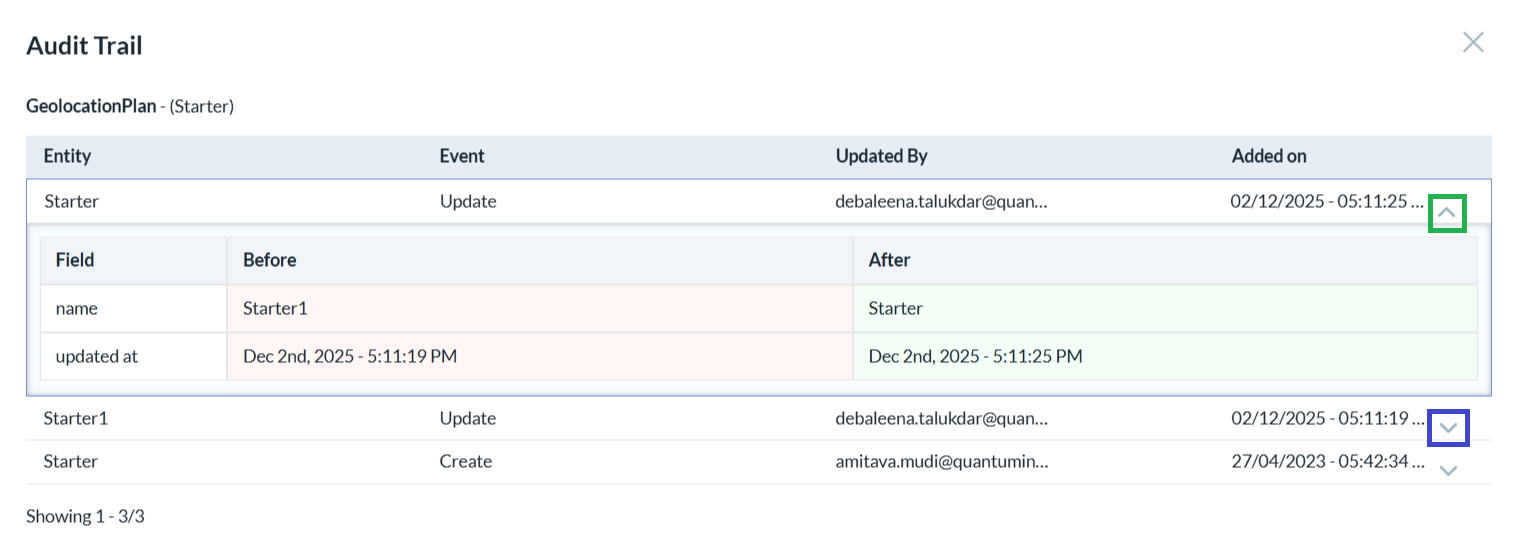
Geolocation Plan Audit Trail
After clicking the audit trail icon in the Actions column, the audit trail opens. Click on the uncollapse icon to see the detailed changes (highlighted in a blue box). To collapse, click on the collapse icon (highlighted in a green box).