Vehicle and Device Details
Overview
When you click a vehicle or device from the vehicle and device list respectively then you will be able to see the details about the vehicle or device like:
- Vehicle Plate number (if it is vehicle details) or Device Name or IMEI (if it is device details).
- Last time of data received.
- Health.
- Map data.
- Live and History tracking.
- Events.
- Trips.
- Vehicle or device metadata.
Health
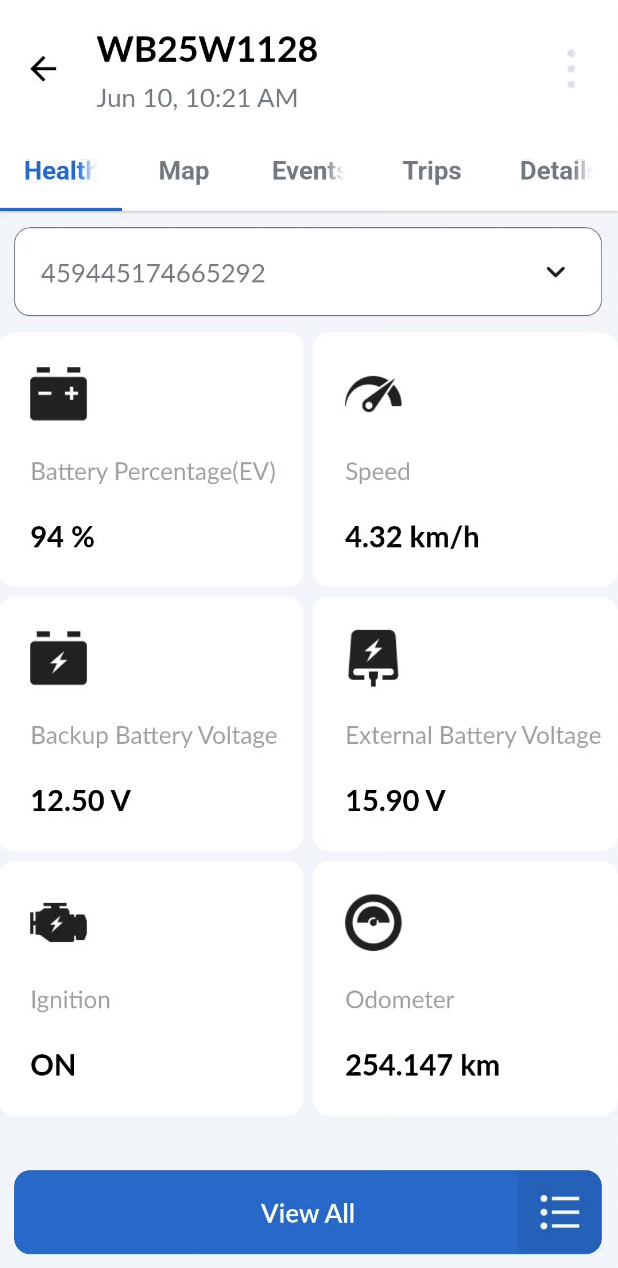
The Live Health tab displays real-time tracking data received from devices, including GPS location, speed, ignition status, and more.
- When the screen is opened, a grid view is displayed by default. This view can be customized to show only the data most relevant to the user.
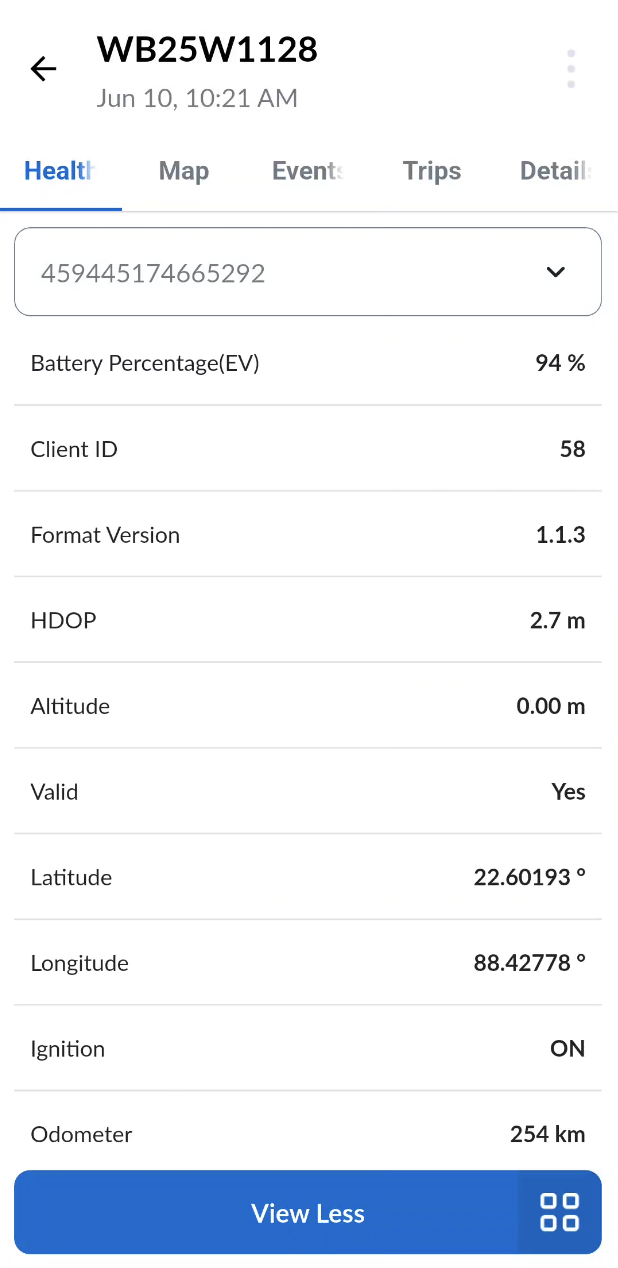
- Tapping the "View All" button switches to a list view, showing all data points received from the selected devices.
Map
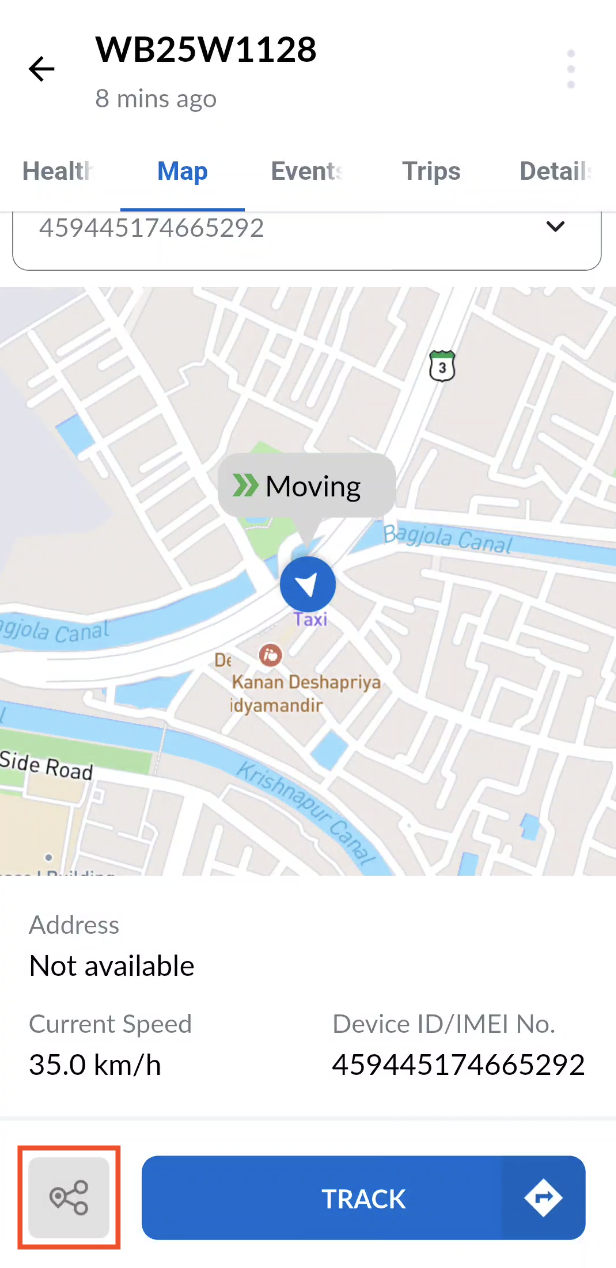
The Live Map tab displays the current or last known location of the selected asset on a map. Along with the location, it also shows:
- The address (if available)
- The speed of the asset
- The Device ID / IMEI associated with the vehicle or device
You can share the current location by tapping on the share button highlighted in red.
Live and History Tracking
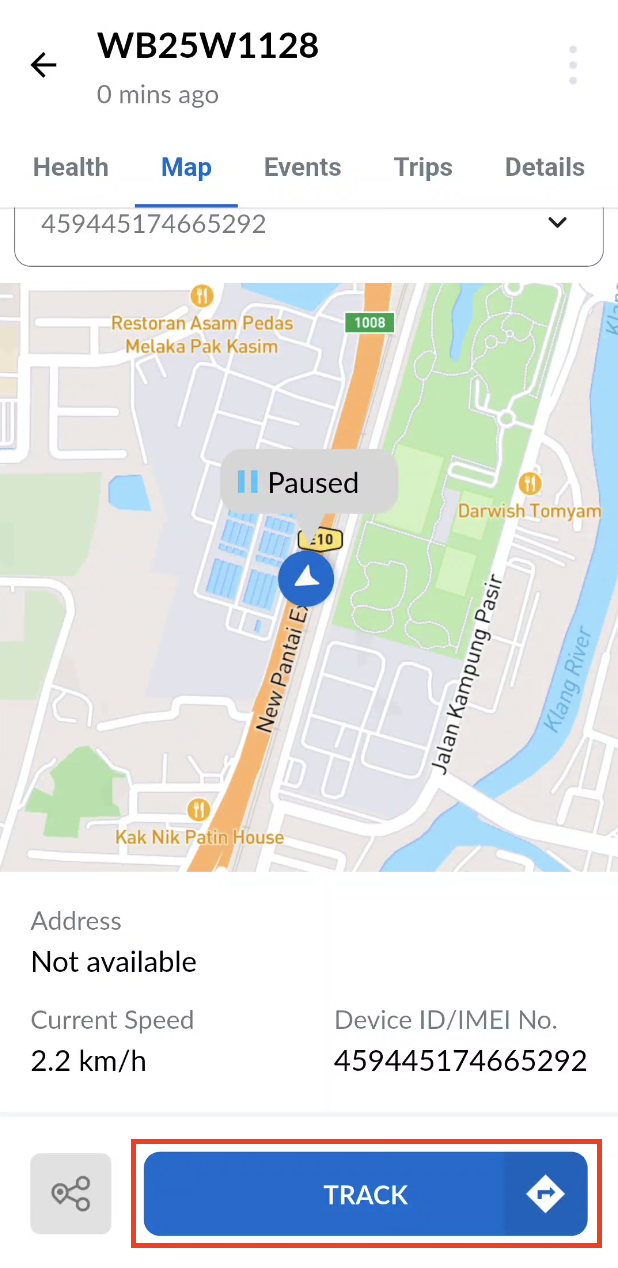
The Live and History Tracking feature in the mobile app enables users to monitor their vehicles in real time and review past movements. This helps ensure safety, optimize routes, and maintain a clear record of vehicle activity. To view the tracking information tap on the "Track" button in the Map Screen.
Live Tracking displays your vehicle’s current location on an interactive map, updating in real time. It also allows you to view recent historical movement—ranging from the last 5 minutes to the last 24 hours, so you can quickly assess short-term travel patterns.
Steps to use:
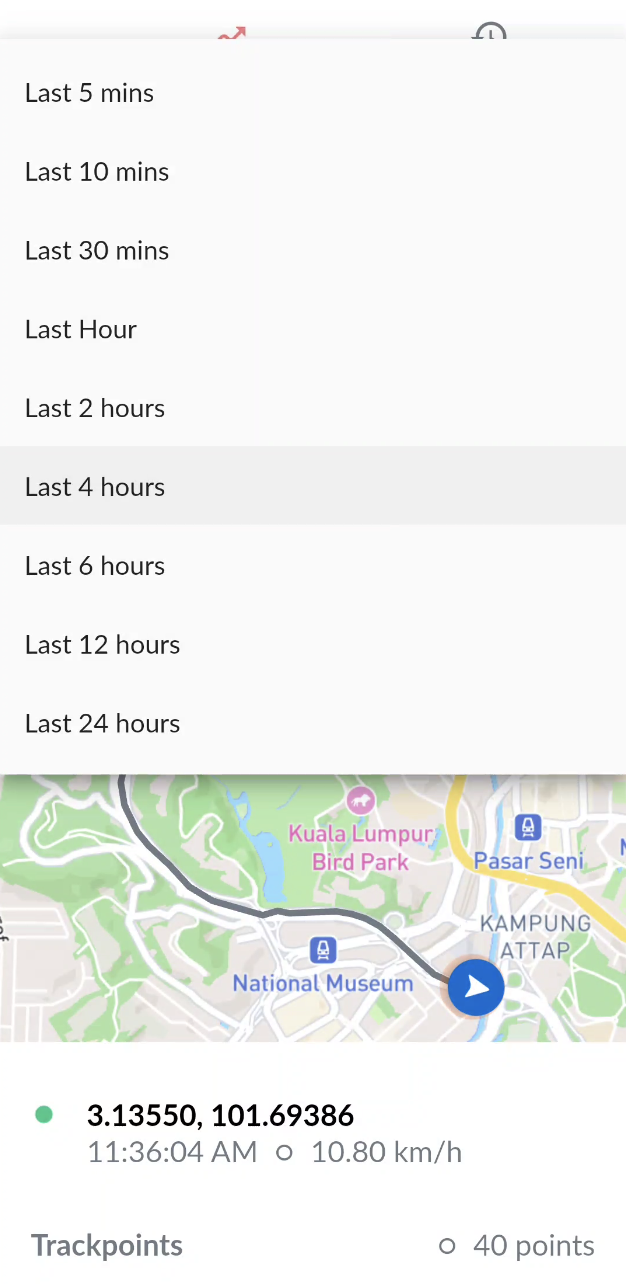
- Go to the Live tab.
- Use the Duration Dropdown to choose a time range (e.g., Last 1 Hour, Last 4 Hours, Last 6 Hours).
- View the vehicle’s current location and recent route on the map in the Map tab.
- Use the slider to seek a particular trackpoint and view its details like latitude, longitude (or Address if available), speed and time.
- Switch to the List tab to have a list view of the recent trackpoints displaying time, speed, latitude, longitude and altitude of each trackpoint.
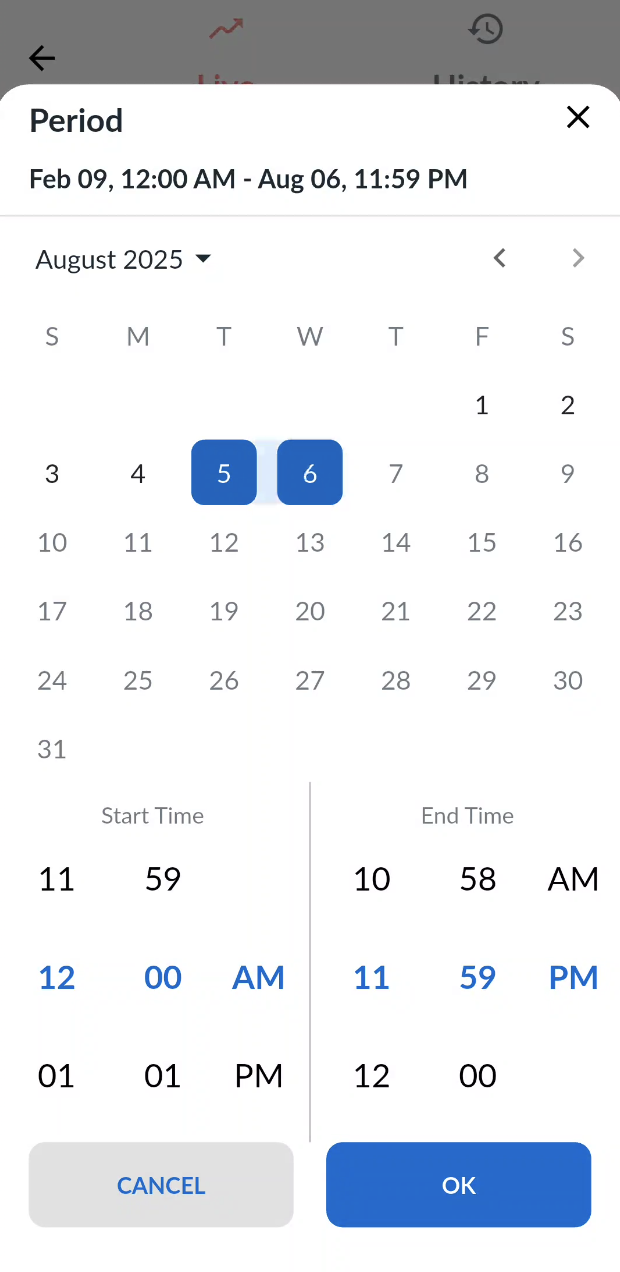
History Tracking allows you to view your vehicle’s past routes and activities. You can select a date and time range to analyze the travel patterns.
Steps to use:
- Go to the History tab.
- Tap on the date time field to select the desired date and time range from the calendar (you are allowed to select a date range within one week).
- View the routes taken in the Map of the Map tab.
- Use the slider to seek a particular trackpoint and view its details like latitude, longitude (or Address if available), speed and time.
- Switch to the List tab to have a list view of the recent trackpoints displaying time, speed, latitude, longitude and altitude of each trackpoint.
Events
The Live Events List tab displays various events that occur for vehicles or devices, such as Geofence, Idling, Speeding, and more. These events provide valuable insights into asset behavior and operational anomalies.
| Event Type | Description |
|---|---|
| Geofence | Triggered when a vehicle or device enters or exits a predefined geographic boundary (geofence). Useful for monitoring zone-based movement like depot entry/exit or delivery areas. |
| Idling | Occurs when a vehicle’s engine is running but the vehicle is not moving for a certain duration. Helps track fuel wastage and engine usage. |
| Speeding | Generated when a vehicle exceeds a defined speed limit. This is important for monitoring driver behavior and ensuring compliance with traffic regulations. |
| Ignition | Indicates the ON or OFF status of the vehicle's ignition. Helps identify usage patterns, unauthorized usage, or start/stop activity. |
| Low Battery | Triggered when the device’s battery level drops below a defined threshold. It’s a useful alert to ensure timely maintenance or charging |
| Offline | Occurs when the tracking device stops communicating with the server for a specified duration. |
To activate and receive these events, they must first be configured from the Web Management Portal. Only configured events will be monitored and shown in the list.
For each generated event, the Events List displays the following information:
- Event Type – The category of the event (e.g., Geofence, Speeding, Idling).
- Event Name – A custom name defined by the user during event configuration.
- Address – The location where the event occurred (if available).
- Time of Generation – The exact time when the event was triggered.
On tapping an event all the details of that event are displayed along with locations event type, sub types, etc.

Trips
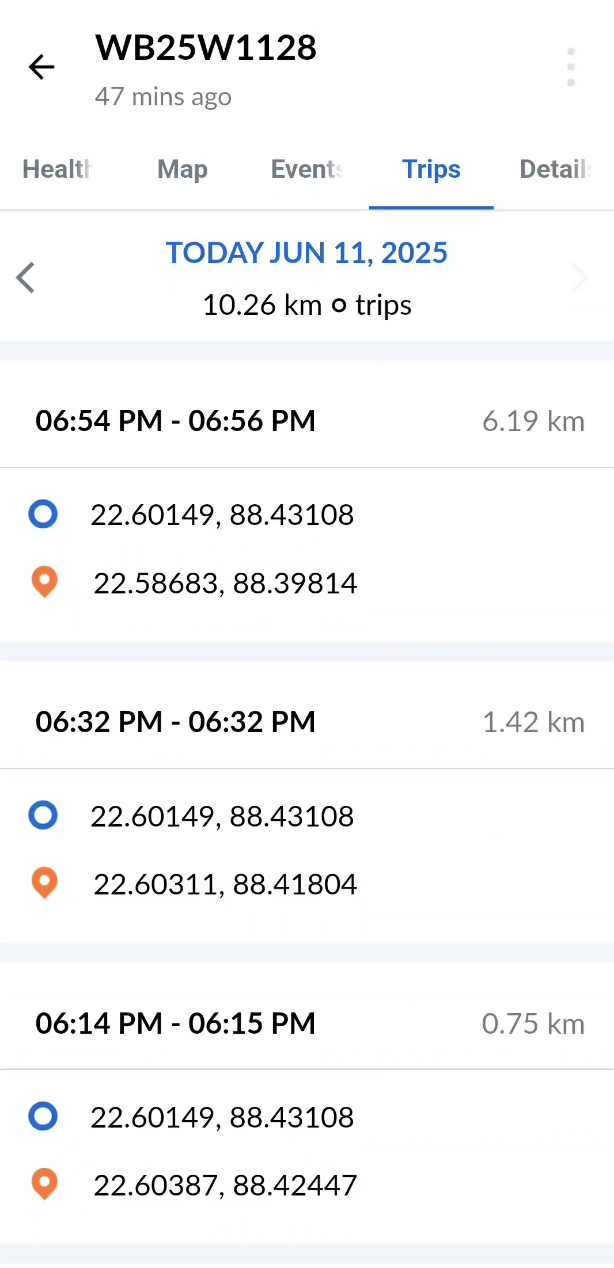
The Live Trips tab displays all trips made by the selected asset for the chosen date range. By default, the current date is selected.
At the top of the screen, the following summary information is shown:
- Selected Date(s) – The time range for which trips are displayed (default is the current date).
- Total Distance Covered – The total distance traveled by the asset during the selected date range.
- Total Number of Trips – The number of individual trips recorded within the date range.
- Each trip listed includes the following details:
- Trip Start Time
- Trip End Time(displays "Present" if the trip is currently in progress)
- Trip Start Address (or GPS coordinates if address is unavailable)
- Trip End Address (or GPS coordinates; shows "Ongoing" if the trip is still in progress)
- Total Distance covered during the trip
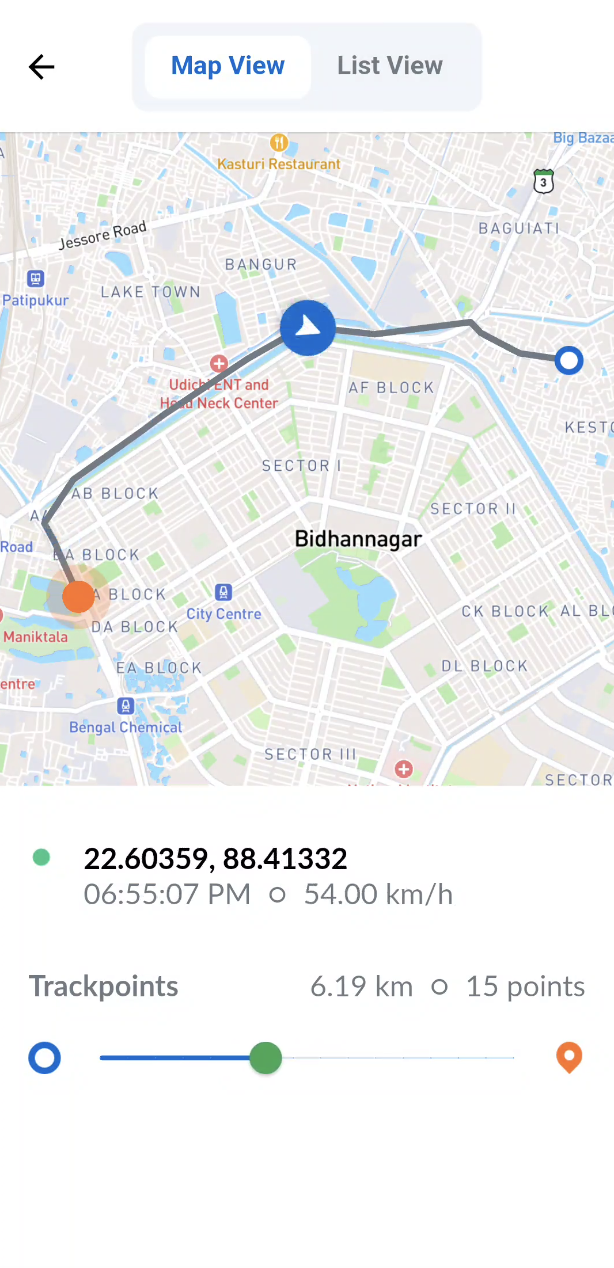
When a user taps on a trip from the Live Trips list, the Live Trip Details screen opens, which includes two views:
- Map View - Displays the route of the selected trip on a map. Users can interact with the route using a slider at the bottom to seek through the trackpoints recorded during the trip. The following details are shown for the selected trackpoint:
- Address of the trackpoint (or GPS coordinates if the address is unavailable)
- Timestamp – The time when the trackpoint was received
- Speed recorded at that trackpoint
- Total Distance Traveled up to that point in the trip
- Total Number of Trackpoints received till that point

- List View - This view displays all recorded trackpoints of the trip in a structured, scrollable list format. Each entry includes:
- Time the trackpoint was recorded
- Speed at that point
- GPS Latitude
- GPS Longitude
- Altitude
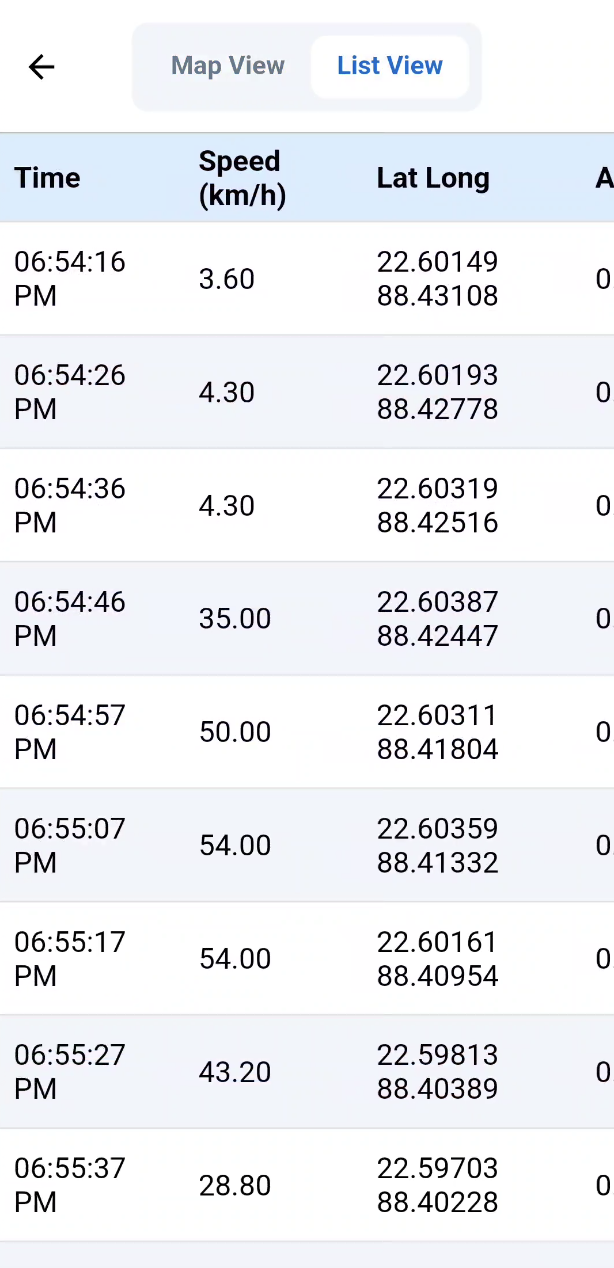
The list view is static and does not update with new trackpoints in real-time. It reflects the data available at the time the user last visited the Map View.
Details
The Details tab displays key metadata about the selected vehicle or device.
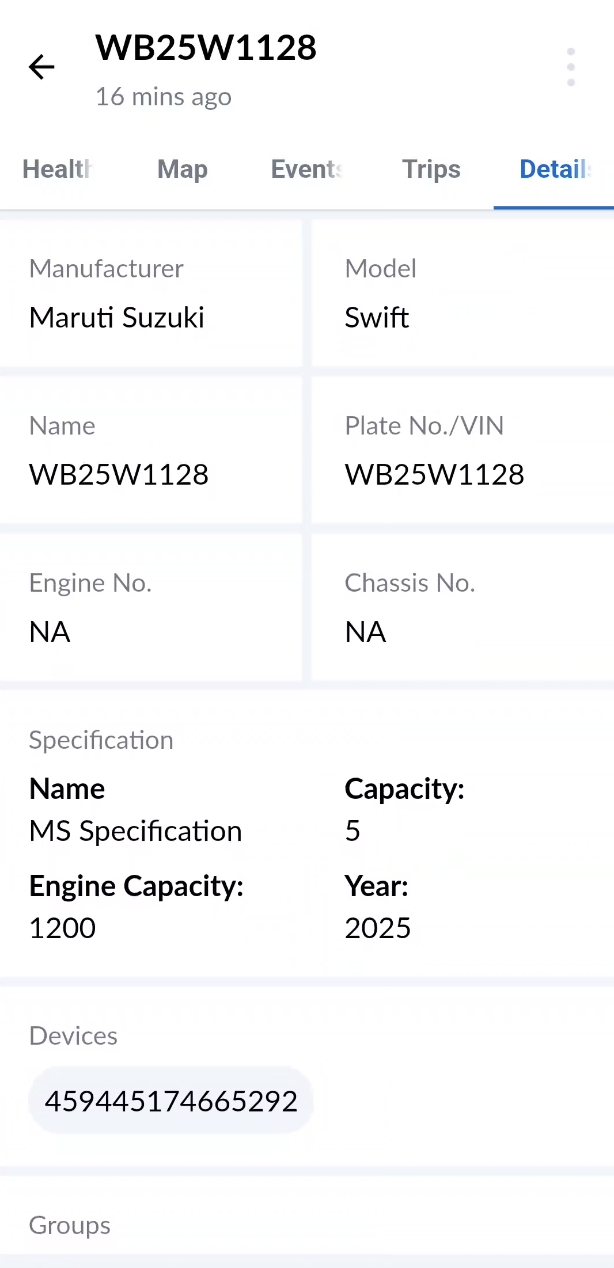
Vehicle Metadata
When navigating from the Vehicle List, the app displays the Vehicle Metadata, which includes key information about the selected vehicle such as:
- Manufacturer
- Model
- Vehicle Name
- Vehicle Plate number
- Engine Number
- Chassis Number
- Specification
- Devices attached to the vehicle
- Groups assigned to the vehicle
- User
- Drive
- Creation date and time
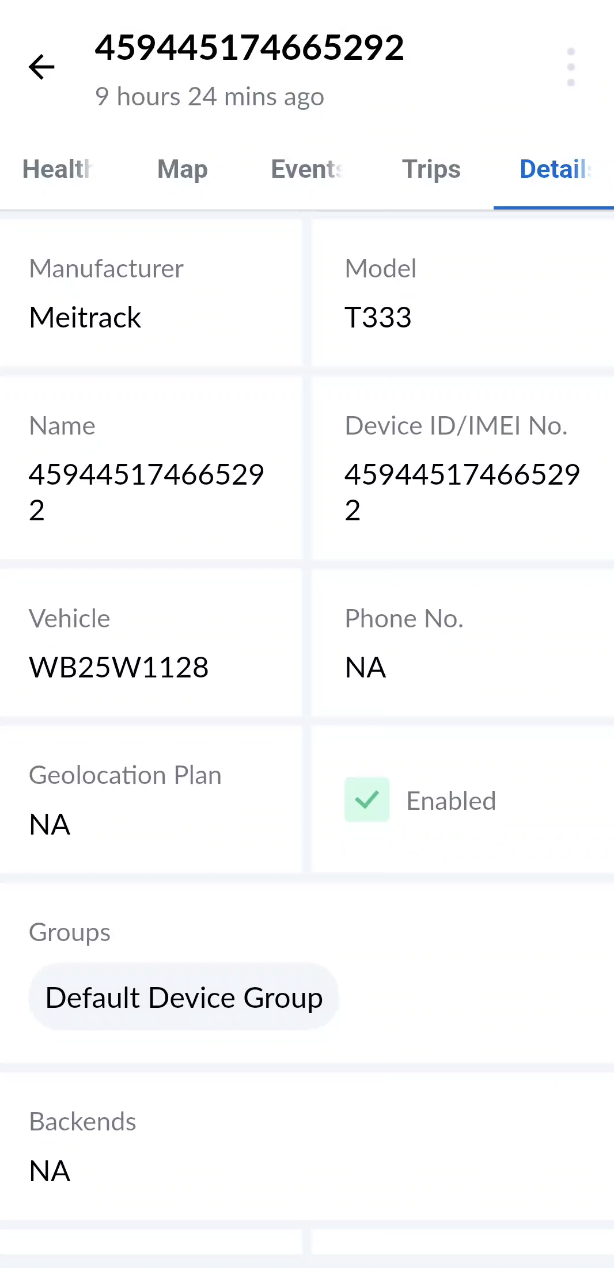
Device Metadata
When navigating from the Device List, the app displays the Device Metadata, which includes key information about the selected Device such as:
- Manufacturer
- Model
- Device Name
- Device ID/IMEI Number
- Associated Vehicle
- Phone Number
- Geolocation Plan
- Enabled or disabled
- Groups assigned to the device
- Backends
- Firmware Version
- Creation date and time
Command Sending
Command sending to vehicles and devices refers to the process of transmitting instructions from a central system—such as a mobile app, server, or control unit—to remote endpoints like vehicles, sensors, or IoT devices. These commands can range from simple actions like locking doors or starting the engine, to more complex operations such as updating firmware, adjusting configurations, or initiating data collection.
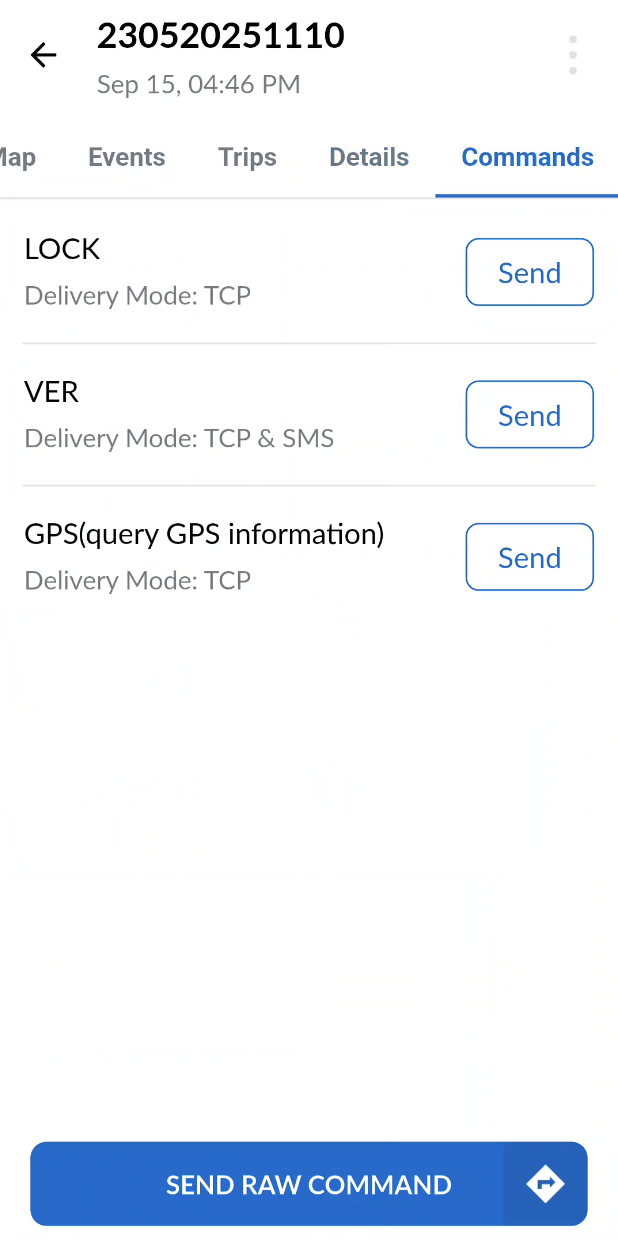
Steps to send commands:
- Go to the Commands tab.
- You will be able to see the list of available commands for that vehicle/device if any.
- Send command by tapping on "Send" button corresponding to the command you want to send from the list.
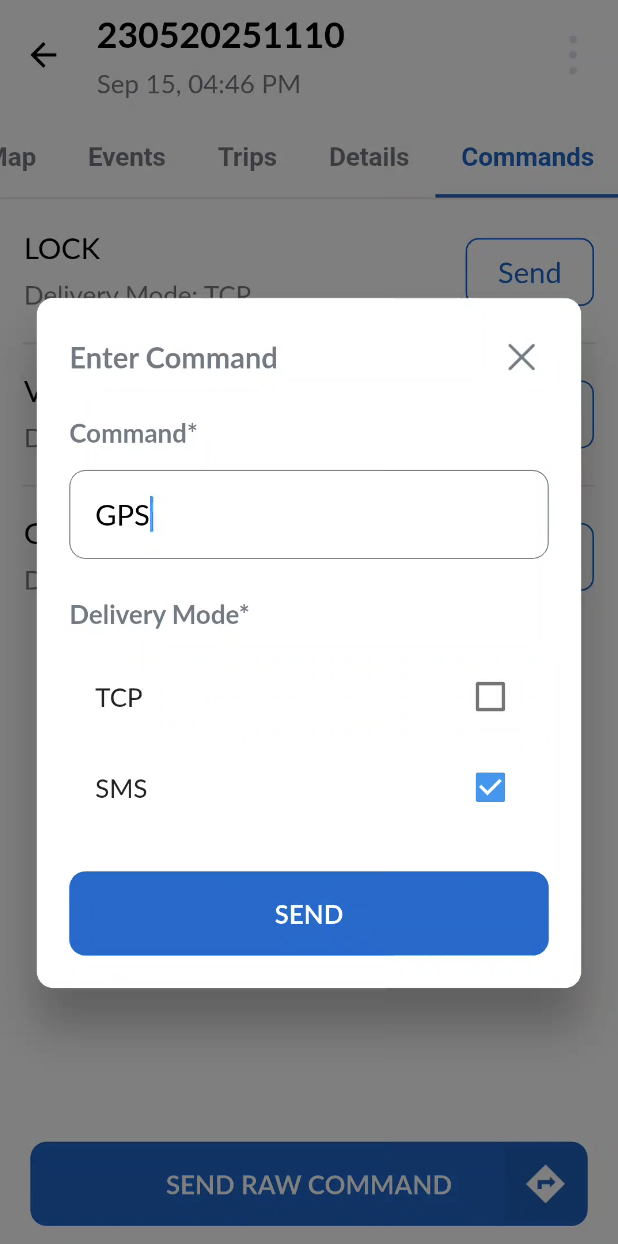
- If you want to send custom commands then tap on the "Send Raw Command" button.
- This will open a popup where you can enter the command text and choose the delivery mode and click "Send" to send the command.